
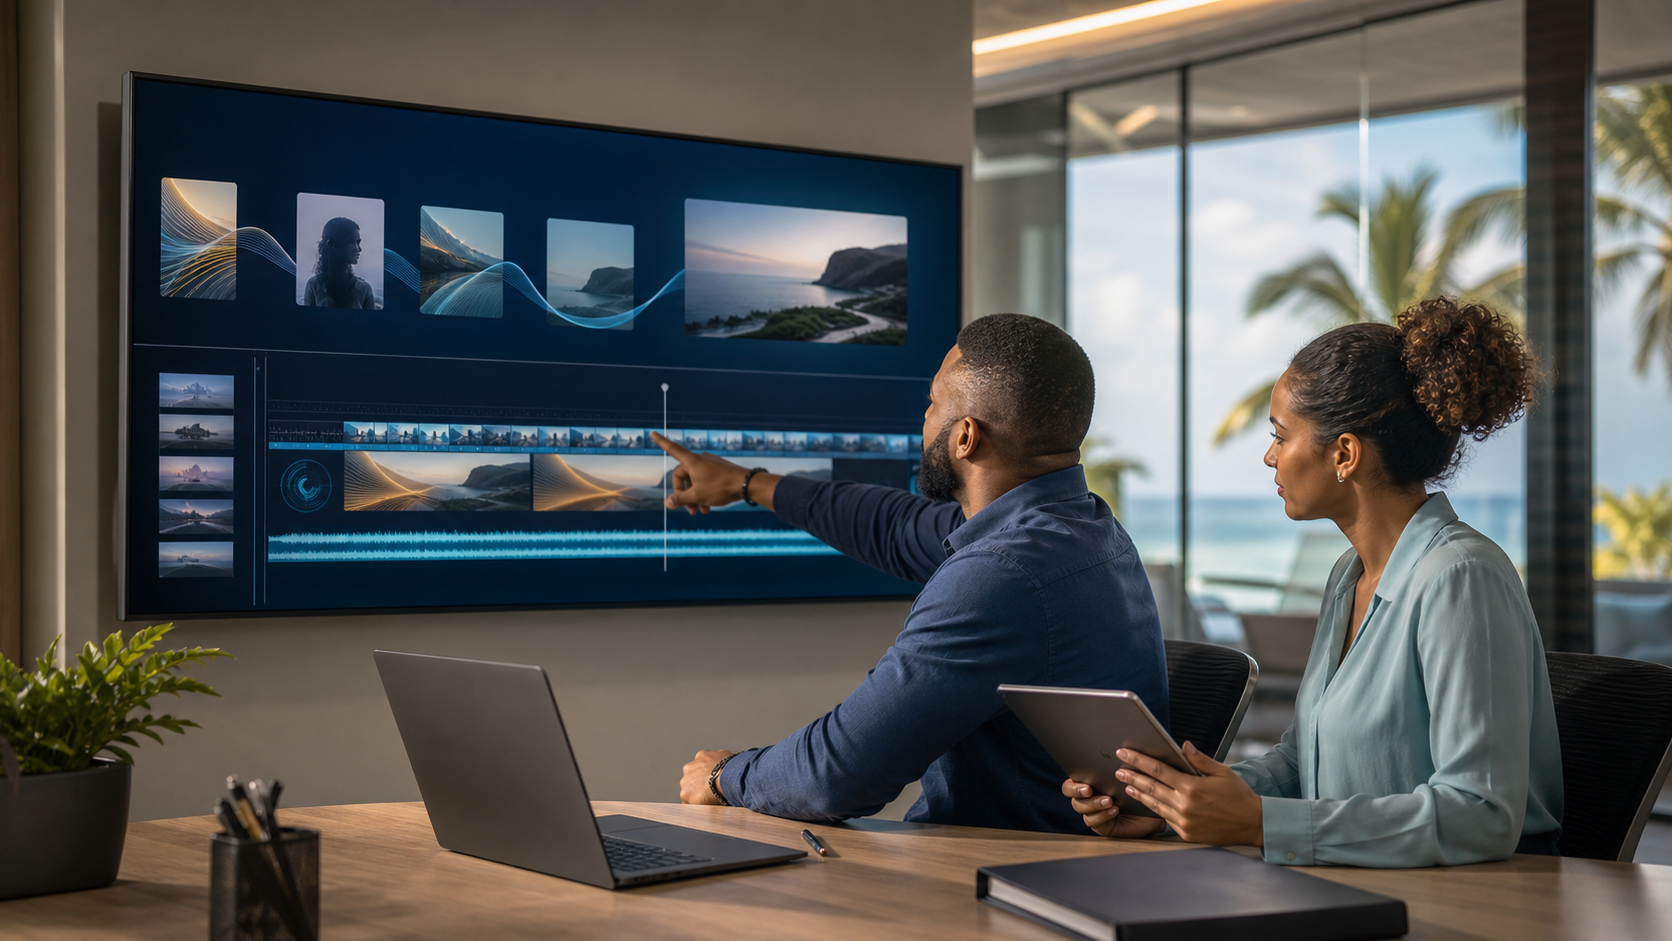
Internal training often starts life as a Google Slides deck: a process walkthrough, an onboarding session, a policy update or a systems demonstration. The information may be sound, but the delivery can still be inconsistent when every new employee has to attend the same live explanation.
For organisations already using Google Workspace, Google Vids offers a more structured way to turn a Slides presentation into an editable video. Google Slides recording is also useful for shorter narrated walkthroughs. They solve different problems, so the sensible first step is to choose the route that fits the training outcome rather than trying to force every deck into the same format.
Start with the training job, not the tool
Video is most useful when a lesson is repeated, needs to be delivered consistently or must be available around different shifts and locations. It is not automatically better than a live session. A good live workshop still has a place where discussion, practice or judgement are the point.
Use video when the goal is to make a stable explanation easier to revisit:
- Onboarding: show a new starter how a routine works before their first supervised attempt.
- Process refreshers: give staff a reliable reference when a policy or system step is updated.
- System walkthroughs: demonstrate a familiar task without scheduling the same screen-share repeatedly.
- Pre-work for live training: let participants learn the basics in advance, so live time can focus on questions and practice.
The best candidates are usually the lessons people request most often or the instructions that are currently explained slightly differently by different team members.
Two routes from Slides to video
Route 1: convert Slides in Google Vids
Google Vids is Google's video-creation application for work. On eligible Google Workspace subscriptions, users can choose Convert Slides from Slides or Vids. The selected slides become scenes in a new or existing Vid, and speaker notes can be used as scripts for the scenes.
This is the stronger route when the material needs more than a single recording. The team can adjust the order of scenes, refine a script, add a screen recording or narration, and update only the part of the video that has changed. A finished Vid can be shared with viewers, exported to Drive or downloaded as an MP4, depending on how the training will be distributed.
Do not assume that every element of a presentation will transfer perfectly. Google notes that some items, including WordArt and video files, cannot be imported through the conversion workflow. In copy-and-paste workflows, themes, timings, animations and embedded videos may need to be recreated in Vids. Treat the conversion as a starting point for a training asset, not as a one-click archive of a presentation.
There are also practical limits to plan around. Google documents a 30-minute maximum for a Vid, while conversion limits vary with the option selected: up to 45 slides when using the AI-assisted conversion features and up to 100 slides without them. For a long deck, divide the content into focused lessons rather than producing one exhausting video.
Route 2: record the slideshow in Google Slides
Google Slides also has a recording feature for certain work and school accounts. It is a good option for a short, straightforward narrated presentation where scene-level editing is not important. The recording feature works in Chrome and Edge; the presentation must be editable by the person recording it, and each recording is limited to 30 minutes.
Slides recordings are saved in a Slides recordings folder in My Drive and can be shared like other Drive files. This route is useful for a concise announcement, a policy briefing or a simple walkthrough. It is less suitable where the organisation expects to revise individual scenes regularly, maintain a shared video template or combine the deck with more substantial video production.
Prepare the deck before you convert or record
Good video training does not begin with the Record button. It begins with a deck that has been edited for the way people watch and learn.
- Give each slide one job. Remove paragraphs that a viewer would have to pause to read. Use a clear headline, a small amount of supporting text and a visual that actually helps explain the step.
- Write useful speaker notes. Notes provide a dependable narration prompt and can become Vids scripts. Write what the learner needs to understand, not a word-for-word reading of the slide.
- Break up long subjects. A series of five-to-eight-minute lessons is usually easier to find, update and complete than a single long recording. Group them by task or decision point.
- Identify the source of truth. Record which Slides deck, supporting procedure and system version the video reflects. If the process changes, the owner should know exactly what needs updating.
- Plan the distribution route. Decide whether staff should use a shared Vids file, a Drive-hosted export or an MP4 in an existing learning platform. The choice affects permissions, version control and how easily viewers can find the latest information.
A practical Vids workflow
For a recurring training asset, begin with a small pilot rather than the organisation's entire slide library.
- Choose one lesson that is frequently repeated or generates avoidable questions.
- Confirm that the relevant users have access to Google Vids. Availability depends on the Workspace subscription and organisational settings; new Vids features can also roll out gradually.
- Open the source presentation and choose File > Convert to Video, or start in Vids and choose Convert Slides.
- Select the slides that genuinely belong in the lesson. Remove agenda slides, duplicate explanations and material that needs a separate module.
- Review every scene. Check the script, visual hierarchy and timing. Add a screen recording when it would make a system action clearer than an annotated screenshot.
- Record narration or use an approved voiceover workflow. If AI-generated narration is used, review names, acronyms and local terminology carefully before release.
- Preview the complete video with somebody who did not build it. They are more likely to notice an unclear instruction, a rushed screen transition or a missing permission.
- Share through the route chosen in the preparation phase, then test the experience using a typical staff account.
The conversion feature makes the first draft faster. The value comes from the human review: simplifying the explanation, correcting context and making sure a learner can act on what they have watched.
Make accessibility and governance part of production
An internal video is still a business record. It needs an owner, an audience, a review date and a controlled home.
Before release, check that text is readable at normal laptop size, that narration is audible without headphones, and that essential instructions are not conveyed by colour alone. Where captions, transcripts or scripts are available in the selected workflow, review them for names, acronyms and technical terms rather than assuming automatic output is correct.
Then test sharing with a person outside the production team. In Vids, viewers can watch without seeing the editing timeline, while commenters and editors have broader access. Google also notes that organisations may restrict how files are shared. A link that works for the author is not proof that it works for the intended audience.
For each published lesson, keep together:
- the source Slides deck;
- the current Vids project or recording;
- the supporting procedure or policy;
- the named content owner;
- the next review date; and
- a short change note when a material process update is made.
This modest discipline prevents stale videos from quietly becoming the unofficial version of a process.
Begin with one useful lesson
The goal is not to turn every presentation into video. Start with the training topic that will save the most repeat explanation, create a clear source deck and test the viewing experience with a small group. Use their feedback to improve the pace, the narration and the sharing process.
Once that pattern works, your existing Slides library can become the foundation of a maintainable training resource: clear enough for staff to use on demand, controlled enough for the organisation to keep current, and flexible enough to support live learning where it matters most.
Blue Chip Technologies helps organisations in Trinidad and Tobago design practical Google Workspace workflows, including governance, access and adoption support. If you are planning a more structured approach to internal training, contact us to discuss the right first lesson.